How to make intricate looking 3D paper snowflakes (hint: it’s easy!)
I took the children to school yesterday and noticed that Pim's classroom was so beautifully decorated with the prettiest paper snowflakes hanging from the ceiling. All white and delicate -- it looked so lovely and festive!
Pim later showed me how super easy these are made, from supplies you probably have at home:
6 sheets of white paper (we used plain A4 printer paper)
scissors
a glue stick
a stapler


Step 1:
First create squares by folding a triangle of the paper and cut off part of the paper. Then, cut an even amount of slits on either side of the fold.


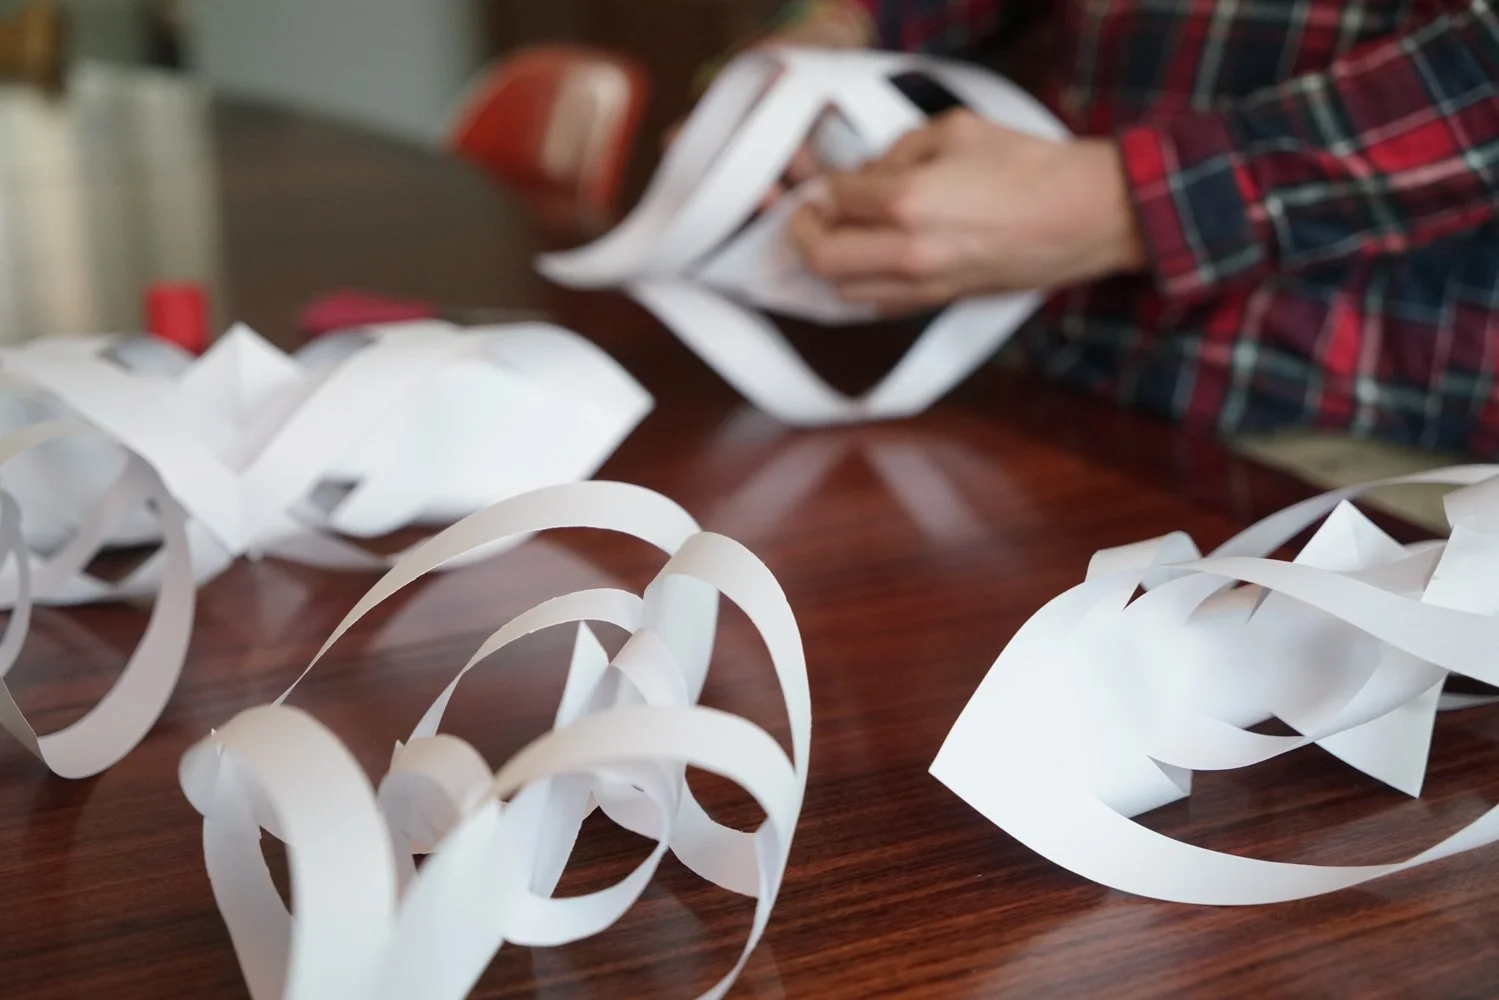
Step 2:
Starting from the middle, glue together the points of the triangles -- alternating on either side of the paper.Repeat for all 6 squares.


Step 3:
Take all 6 pieces in your hand, and staple them together at the top.


Step 4:
Staple the individual pieces two-by-two together there where the middle bits cross.

Et voila! A beautiful 3D snowflake. So easy and so pretty!
xxx Esther